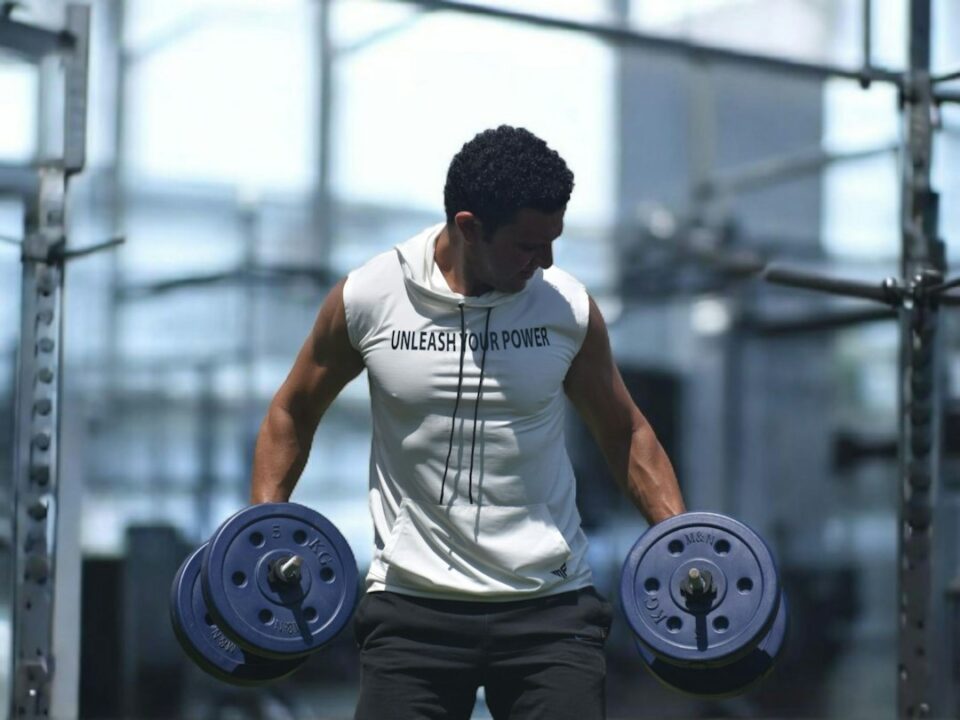
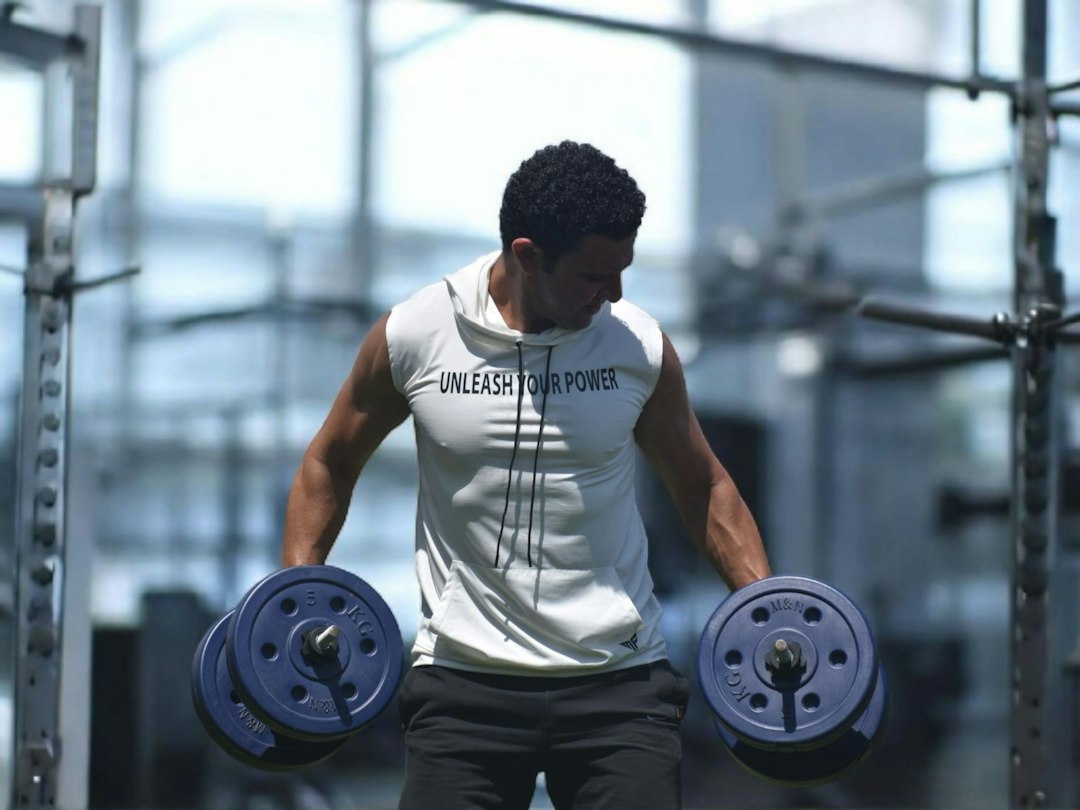
If you want a fitness routine that actually makes day-to-day life feel easier, functional strength training is the most reliable path I know. It connects gym work to real tasks: lifting groceries, climbing stairs without getting winded, picking up kids safely, and staying steady on a slippery sidewalk. Below you’ll find a practical, evidence-aware guide to build capacity you can feel every time you move.
What is functional strength training?
Functional strength training focuses on building the kind of strength, mobility, and coordination that carry over to the way your body moves in the real world. Instead of isolating a single muscle on a machine, you train patterns: squatting down and standing up; hinging at the hips to pick something off the ground; pushing and pulling with the upper body; rotating the torso; and carrying loads while staying balanced. These patterns ask many muscles to cooperate, including often-overlooked stabilizers in the feet, hips, trunk, and shoulders.
Think of the body like a linked chain. The goal isn’t to create one super-strong link while leaving the others weak; it’s to strengthen the chain as a whole so force transfers smoothly and joints feel supported during everyday tasks. This is why functional sessions often rely on free weights, bodyweight, bands, cables, and kettlebells. These tools allow freedom of movement in many planes and ask the body to organize itself well under load.
Functional sessions also prioritize quality of movement. You’ll see cues such as “feet grounded,” “brace the trunk,” and “long spine,” which help align segments so the whole body shares the work. Over time, you learn to use tension, breath, and positioning to create strength efficiently.
Finally, functional work is scalable. A student, a busy parent, a desk worker easing into activity, a recreational athlete, and an active grandparent can all follow the same principles with different loading and tempos. The methods are flexible; the intent is consistent: build usable strength that supports your life outside the gym.
Why it helps in daily life
Functional training builds capacity you notice between workouts. Here are common benefits people report as their practice matures:
- Stronger basics: Getting out of low chairs and cars feels smoother. Bending to tie shoes or pick up laundry becomes easier because your hips and trunk coordinate better.
- Confident lifting and carrying: Whether it’s a suitcase, a toddler, or a case of water, you learn how to hold position, keep your center of mass over your base of support, and move with control.
- Better balance and stability: Exercises like split squats, single-leg hinges, and suitcase carries improve foot and hip control, which supports steadier steps and more reliable footing on uneven ground.
- Time efficiency: Multi-joint patterns recruit more muscle in less time. Two or three well-chosen compounds can deliver a complete session for busy schedules.
- Joint-friendly options: The freedom to choose ranges, stances, grips, and tempos lets you find variations that feel good while still challenging you.
- Cardio carryover: Functional circuits and loaded carries raise heart rate without pounding the joints, making it easier to build work capacity gradually.
On a bigger level, functional training teaches you to organize your body. You’ll practice bracing before you move, stacking ribs over pelvis for a strong trunk, and aligning knees over mid-foot during lower-body work. These habits quietly show up during chores, yardwork, and play. When the body learns to share load efficiently, daily tasks feel lighter and more controlled.
The six foundational patterns
Organize your program around these six patterns. You don’t have to do all six every session, but across the week they should appear regularly.
- Squat: Sit down and stand up while keeping the chest tall and the knees tracking over the mid-foot. Examples: bodyweight box squat, goblet squat, front squat, split squat.
- Hinge: Push the hips back while keeping a long spine to pick up or set down a load. Examples: hip hinge drill, Romanian deadlift, kettlebell deadlift, hip thrust.
- Push: Press a load away from the body. Vertical (overhead press) or horizontal (push-up, dumbbell bench). Emphasize shoulder position and trunk bracing.
- Pull: Bring a load toward the body. Vertical (pull-up, assisted pull-up, lat pulldown) or horizontal (row variations). Focus on spreading the chest and engaging the upper back.
- Carry: Walk while holding a load, keeping the ribcage stacked over the pelvis and steps quiet. Examples: farmer’s carry, suitcase carry, rack carry.
- Rotate/Anti-rotate: Control twisting forces. Examples: Pallof press, cable rotations, medicine ball chops.
If you’re short on time, pick one lower-body pattern (squat or hinge), one upper-body push, one upper-body pull, and one carry or core drill. That gives you a balanced session in 30–40 minutes.
Tools and setups that work anywhere
You can build an excellent functional routine with minimal equipment. Here’s how to choose tools and scale them to your space and experience level.
- Bodyweight: Ideal for learning positions and tempo. Progress by changing leverage (elevated push-ups → floor push-ups), slowing the eccentric, or adding pauses.
- Dumbbells: Versatile, easy to hold in many positions, and friendly for unilateral work. A pair of light-to-moderate weights covers a surprising amount of programming.
- Kettlebells: Great for hinges (deadlifts, swings), carries, squats, and presses. The handle and compact shape make them comfortable for rack and suitcase positions.
- Resistance bands: Portable and joint-friendly for rows, presses, rotations, and assisted pull-ups. Excellent for warm-ups and home workouts.
- Suspension trainer: Adjustable bodyweight rows, face pulls, fallouts, and single-leg assistance. Scales easily by changing your foot position.
- Barbell (optional): Useful for higher absolute loads if you enjoy it and have access. Not required for strong results.
Space-saving tip: A pair of adjustable dumbbells, one kettlebell, a few bands, and a doorway pull-up bar can power years of training at home. Add a sturdy box or bench and you can cover every pattern comfortably.
functional strength training for beginners
If you’re starting fresh or returning after time away, keep it simple. Aim for three sessions per week. Focus on consistency, smooth form, and gradual progress. Here is a beginner-friendly template you can follow for 4–6 weeks before you advance:
- Warm-up (6–8 minutes): Easy cardio 2 minutes (walk, bike), then ankle rocks, 90/90 hip switches, cat–cow, and five deep breaths expanding the ribcage while keeping the pelvis neutral.
- Strength block (20–25 minutes):
- Goblet squat or bodyweight box squat: 3 sets of 6–8 reps, 2–3 minutes rest
- Hip hinge drill to kettlebell deadlift: 3 sets of 6–8 reps, 2–3 minutes rest
- Incline push-up or dumbbell floor press: 3 sets of 6–8 reps, 90 seconds rest
- Band row or suspension row: 3 sets of 8–10 reps, 90 seconds rest
- Carry or core finisher (5 minutes): Suitcase carry (one dumbbell/kettlebell) for 4 x 20–30 steps each side, or Pallof press 3 x 8–12 per side.
- Cool-down (3–5 minutes): Light walking and gentle breathing through the nose, slow exhales.
Progress by adding a rep each week, then a small amount of load when you can perform all sets smoothly while keeping tension and control. If form gets shaky, hold the load and slow the lowering phase instead of chasing extra weight. The goal is to master positions, not rush.
Programming: sets, reps, tempo, and weekly structure
Functional programming is simple when you follow these pillars:
- Frequency: 2–4 strength sessions per week. Many people progress well on three.
- Volume: For the main patterns, 10–15 solid working sets per week per pattern is a practical range for most lifters. That might mean two sessions of 5–7 sets each, or three sessions of 3–5 sets each.
- Reps: 5–10 reps for most compounds. Technical moves like hinges and squats often feel best in the 5–8 range; rows and presses often work well in the 6–10 range.
- Tempo: Emphasize a controlled lowering phase (2–3 seconds), a brief pause when needed for position, then a strong but smooth concentric. This teaches control and helps you feel the right muscles working.
- Rest: 1.5–3 minutes on demanding lower-body sets; 60–120 seconds for upper-body sets. Quality beats rushing.
- Autoregulation: Use an effort gauge such as RPE (rate of perceived exertion) or “reps in reserve.” Leave 1–3 good reps in the tank most sets. On days you feel great, you can add a small amount. On tougher days, hold steady.
Example weekly structure (three days):
- Day A: Hinge focus + horizontal push/pull + carry
- Day B: Squat focus + vertical push/pull + anti-rotation
- Day C: Mix patterns you want to strengthen, plus single-leg work and a conditioning finisher
This structure balances stress, hits every pattern, and leaves room for walking or low-intensity cardio on off days.
Technique cues for big movements
Clean technique keeps training effective and joint-friendly. Use these bite-size cues for the primary patterns:
- Goblet squat: Feet about hip-to-shoulder width, toes slightly out. Think “knees track over mid-foot,” “chest proud,” “sit between the hips,” and “push the floor away.” If balance wobbles, elevate heels slightly or hold onto a support while you learn the groove.
- Romanian deadlift: Soften the knees, then send the hips back like closing a car door with your glutes. Keep the weight close to the legs and the spine neutral. Think “long hamstrings” and “stand tall” rather than yanking the bar up.
- Push-up: Hands under shoulders, body in a straight line from head to heels. “Corkscrew” the hands into the floor to engage lats, keep elbows at ~45°, and imagine pushing the floor away. Elevate hands if needed for crisp reps.
- Row: Keep the chest open and think “elbow to hip,” not just “hand to chest.” Resist shrugging; let the shoulder blade glide back and down as you row.
- Overhead press: Squeeze glutes and tighten the trunk before the press. Aim the weight slightly back so it finishes over the ear, not out front. Think “from strong legs to tall crown.”
- Suitcase carry: Hold a single weight at your side, stand tall, and walk slow, quiet steps. Resist leaning; feel your trunk working to keep you level.
- Pallof press: Knees soft, ribs stacked over pelvis. Press the handle straight out without letting the trunk twist. Return with control.
Film a few reps from the side and front occasionally. You’ll spot easy fixes like stance too wide, knees caving, hips tucking, or arms flaring. Small adjustments create big improvements in how lifts feel.
Mobility, warm-ups, and joint-friendly prep
Effective prep takes less than 10 minutes. Choose drills that open the ranges you’ll use and wake up the muscles that stabilize those ranges. A simple flow:
- Feet and ankles: Ankle rocks and short calf raises to build awareness of mid-foot pressure.
- Hips: 90/90 switches, deep squat pry with support, and glute bridges to groove hip motion.
- Thoracic spine and shoulders: Open books, wall slides, and light band pull-aparts to invite upper-back motion and shoulder control.
- Trunk: 3–5 breaths with hands around the lower ribs. Inhale through the nose, letting ribs expand sideways; exhale slowly to feel the abdominals engage while the chest stays tall.
Before heavy sets, add a ramp-up set or two with a lighter load and extra control on the lowering phase. If a position feels cranky on a given day, explore small changes: adjust stance width, turn toes slightly, reduce depth a touch, or switch to a close cousin of the exercise that feels better while you keep building capacity.
Conditioning without beating yourself up
Conditioning supports heart health, recovery between sets, and overall work capacity. It doesn’t require punishing workouts. Two frameworks pair nicely with functional strength:
- Steady aerobic work (zone 2 style): 30–45 minutes at a pace you can maintain a calm conversation. Brisk walking, incline treadmill, cycling, rowing, or rucking (walking with a light backpack). Two sessions per week is a sweet spot for many people.
- Short intervals: 8–12 rounds of 20–30 seconds up, 60–90 seconds easy. Choose low-impact options like air bike, rowing machine, or sled pushes. Keep the quality high; stop a few reps shy of breathless wobble.
Place conditioning on separate days or after your main lifts. When time is tight, finish a strength session with 8–10 minutes of carries, sleds, or simple complexes that keep technique crisp. The rule of thumb: you should leave sessions feeling better than when you arrived—warmed up, not worn down.
Progression, plateaus, and autoregulation
Strength grows when you nudge the body to do a little more than it has done before, then recover. Here is how to apply progressive overload without grinding yourself into the floor:
- One knob at a time: First add reps, then add small amounts of load, or slow the lowering phase by a second. Changing one variable at a time makes progress clear and joint-friendly.
- Micro-plates or micro-steps: Many lifts feel great adding 1–2.5 lb per hand instead of big jumps. For bodyweight moves, change leverage (e.g., hand elevation for push-ups) or add a small weight vest.
- Wave your weeks: Build two to three weeks, then reduce volume for one lighter week to let adaptations set in. This is a simple way to keep momentum.
- Use an effort gauge: Most sets should finish with 1–3 good reps left. If reps slow dramatically or technique slips, cut a set and live to train strong next time.
- Rotate variations: If a lift feels stale, slide to a close cousin for a few weeks: goblet squat to front squat, RDL to trap-bar deadlift, dumbbell row to chest-supported row. Keep the pattern, refresh the stimulus.
If progress stalls for two to three weeks, look at the basics: Are you sleeping enough? Eating enough protein and overall energy? Walking daily? Taking breath breaks during the day? Often the simplest levers unlock the next step.
Recovery, sleep, and supportive habits
Training breaks down tissue; your habits build it back stronger. You don’t need complicated protocols to recover well—just a few steady anchors:
- Sleep: Aim for a consistent bedtime and wake time. Dark, cool rooms and low evening screen exposure help many people drift off faster.
- Protein and overall energy: Most active adults do well targeting protein across meals (for many, 20–40 g per meal is a practical range) and enough total calories to support training. Spread protein throughout the day instead of saving it all for dinner.
- Hydration: Keep water handy and sip regularly. Adding a pinch of salt to one glass on hot days can be helpful if you sweat a lot.
- Movement snacks: Short walks after meals, a few hip mobility drills between meetings, or a set of easy rows during a work break keep blood moving and help you feel ready for your next session.
- Breathing for downshifting: Two to three minutes of slow nasal inhales with longer, relaxed exhales can quiet the system and support recovery, especially on high-stress days.
Recovery isn’t a special event; it’s the result of daily choices that make training feel like a supportive part of your life rather than something to endure.
A 12‑week sample plan, checklists, and next steps
Use this as a template you can adapt. Three days per week, 45–60 minutes per session. Substitute variations that suit your equipment and comfort.
Weeks 1–4 (Foundation)
- Day A: Kettlebell deadlift 3×6–8; incline push-up 3×6–8; band row 3×8–10; suitcase carry 4×20 steps/side
- Day B: Goblet squat 3×6–8; half-kneeling single-arm press 3×6–8/side; assisted pull-up or pulldown 3×6–8; Pallof press 3×8–10/side
- Day C: Split squat 3×6–8/side; one-arm dumbbell row 3×8–10/side; push-up (elevated if needed) 3×6–8; farmer’s carry 4×30–40 steps
- Conditioning (2×/week): 30–40 minutes steady walk or cycle, conversational pace
Weeks 5–8 (Build)
- Day A: RDL 4×5–7; dumbbell bench press 3×6–8; chest-supported row 3×6–8; suitcase carry 4×25 steps/side
- Day B: Front squat or goblet squat 4×5–7; standing overhead press 3×5–7; assisted pull-up/pulldown 4×5–7; cable rotation 3×8–10/side
- Day C: Reverse lunge 3×6–8/side; incline push-up 3×8–10; one-arm row 3×8–10/side; farmer’s carry 4×40–50 steps
- Conditioning (2×/week): 10×20 seconds moderate-hard + 70 seconds easy; low-impact choice
Weeks 9–12 (Consolidate)
- Day A: Trap-bar deadlift or heavier kettlebell deadlift 4×4–6; dumbbell bench press 4×5–7; row 4×6–8; suitcase carry 4×30 steps/side
- Day B: Front squat or goblet squat 4×4–6; overhead press 4×4–6; pull-up/pulldown 4×4–6; Pallof press 3×8–12/side
- Day C: Split squat 4×6–8/side; push-up (harder variation or added load) 3×6–8; chest-supported row 3×6–8; farmer’s carry 4×50–60 steps
- Conditioning (2×/week): Choose intervals or steady sessions based on how you feel
Every fourth week, reduce total sets by about one-third to refresh. If a lift feels great, add a small amount of load. If a lift feels sticky, hold load steady, tighten technique, and shorten your ROM slightly for a week or two while you build control.
Session checklist
- Do I know which patterns I’m training today?
- Did I warm up the ranges I’ll use?
- Can I feel my feet, hips, and ribcage stacked?
- Did I leave 1–3 quality reps in the tank?
- Do I feel better than when I started?
Weekly checklist
- Hit each pattern at least once
- Two to three walks or aerobic sessions
- Consistent bedtime and wake time
- Protein across meals
- Short movement snacks most days
When you want more structured ideas, local coaching, or community support, explore resources on LKN Fit Life. You’ll find articles, programs, and tips aligned with the approach in this guide.
Common mistakes and easy fixes
Most roadblocks come from small issues you can fix quickly:
- Rushing reps: If reps get bouncy or shaky, slow the lowering phase to a steady 2–3 seconds and pause for a beat at the bottom when it’s safe. Quality creates progress.
- Chasing load before position: Add reps or tempo first. A tidy 6 with control is far more useful than a messy 8 that stresses your joints.
- Ignoring single-leg work: Split squats and step-ups teach hips and feet to cooperate. They often carry over to stronger bilateral lifts and steadier walking.
- Skipping carries: Carries are simple, scalable, and powerful for trunk strength and grip. Start with light suitcase carries and build distance before load.
- Doing too many exercises: Three or four movements done well beat ten rushed ones. Pick patterns, not a long menu.
- Random conditioning: Keep intervals modest and technique crisp. Being slightly under-dosed today leaves you ready to train well tomorrow.
Whenever a lift feels off, ask: Can I reduce the range a bit, slow down the eccentric, adjust stance, or choose a close variation that feels better? That question alone keeps training productive across the year.
Safety, scaling, and getting guidance when you need it
Smart scaling keeps training enjoyable. Use stable stances and supports while you learn, control depth based on today’s comfort, and choose loads you can organize well. If a position consistently feels awkward or creates unusual discomfort, switch to a friendlier variation for now. Many paths lead to strong results.
If you’re managing a health condition or returning after a long layoff, it’s wise to speak with a qualified professional who understands your context and goals. Clear guidance at the start helps you move forward with confidence. In group settings, don’t hesitate to ask the coach to watch a set or suggest a regression. Solid feedback early makes everything smoother later.
Remember: functional strength is a practice. It meets you where you are today and evolves with you over time. The reward is the freedom to move through life with more ease and more options.
Bringing it together: build your lifelong practice
Functional strength training is less about chasing numbers and more about stacking useful skills. Dial in the patterns, own your positions, and build steady habits around sleep, food, walking, and breath. Keep session checklists short, cycles simple, and progress honest. In a few months you’ll notice daily tasks feel lighter, stairs feel friendlier, and recreation feels more accessible. That’s the point.
As you continue, revisit the six patterns, keep carries in rotation, choose aerobic work you enjoy, and log your sessions to see what helps you feel strongest. When life gets hectic, shrink the plan rather than skipping the plan. Two exercises and a short carry circuit still count.
Your practice doesn’t need to be perfect to be powerful. Start where you are, do what you can, and let small, consistent steps build a body that supports the life you want to live.